
Most people commission a table costing several thousand euros having seen only pictures of it. That is normal for the category and not inherently risky — but it does mean learning to read a photograph properly, because listing images are chosen to flatter and the flattering angles are consistent enough to be predictable.
A good photograph shows the piece. A careful one shows the joins. Notice which you are being given.
1. Follow the Grain to the Edge
The fastest test there is, and it takes two seconds. On a genuine live edge, the growth rings run out to meet the contour and change direction exactly where the contour does. On a board cut into a wavy line with a jigsaw, the grain runs straight past a curve it has no reason to acknowledge.
Zoom in where the edge turns. If the photo is too small or too soft to see grain at the edge, that is itself worth noting — see What Is a Live Edge.
2. Check Whether the Two Edges Are Related
In a river table the two live edges come from the same cut, opened like a book. They should be different — they came from opposite faces — but they should correspond: a bulge on one side roughly matching a hollow on the other.
If the two edges look unrelated, the slabs came from different logs. The table will never quite resolve, and most people feel it without being able to name it.
3. Look for Seams in the Wood
A single-slab top has no glue lines. Narrow boards joined to look like one slab do, and they are easiest to spot in a raking-light photo or at the ends.
Jointed tops are not dishonest in themselves — they are a legitimate way to build a wide surface at lower cost. They are only a problem when the listing says “single slab” and the photograph says otherwise, and that discrepancy tells you about the seller rather than the table.
4. Read the Reflections
The reflection in the surface tells you about the finish, and it is the one thing sellers cannot easily fake.
- Sharp, undistorted reflections — a properly levelled and polished top.
- Reflections that ripple or wobble across the surface — the top is not flat. Usually a levelling shortcut, and it will catch light that way forever.
- No reflections at all in every photo — possibly a satin finish, which is fine, or photographs taken in flat diffuse light to avoid showing the surface. Look for one shot with a window in it.
5. Look Into the Channel, Not At It
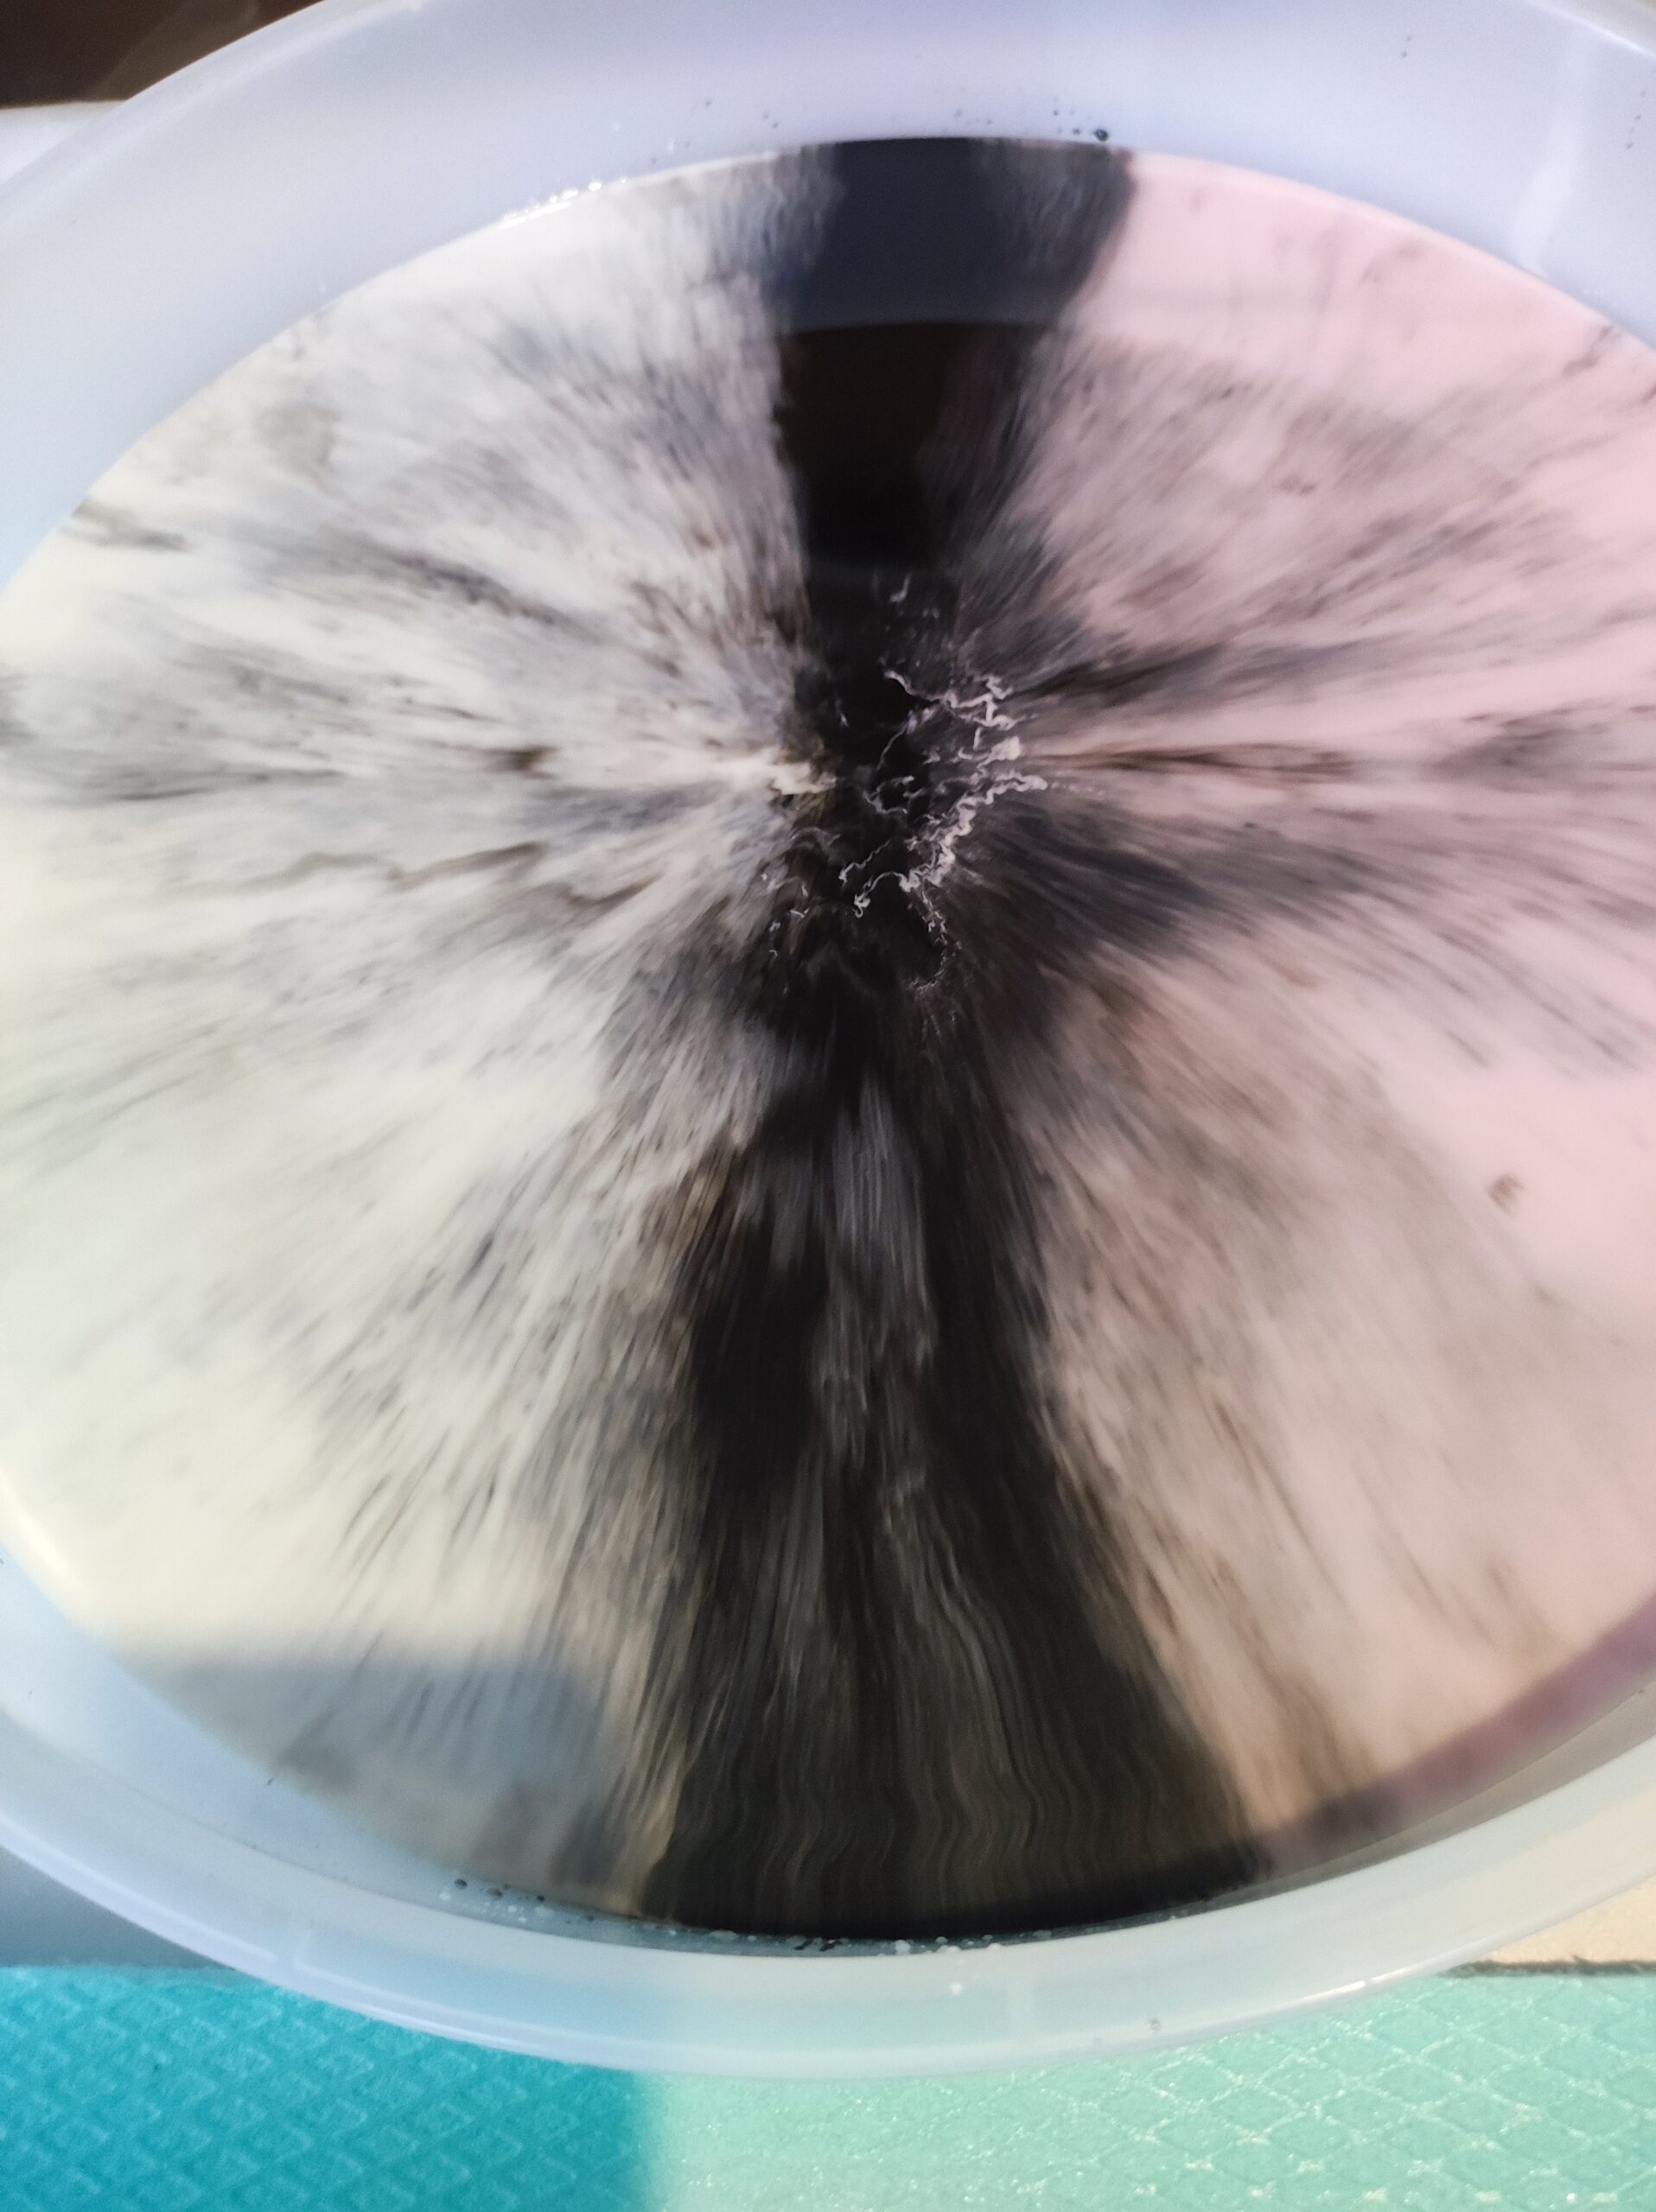
Clear resin should be clear all the way down, with the underside of the wood visible through it. Cloudiness in the depth — a milky quality rather than a surface haze — usually means the pour overheated, which happens when resin is poured too thick in one go.
Bubbles are the other thing to find. A few tiny ones deep in a thick pour are normal. A scatter of them near the surface means the wood was not sealed before pouring.
6. Count the Photographs That Are Missing
Often more informative than the ones present. A complete set shows: the whole piece, the surface at an angle with reflections, the live edge in close-up, the underside or the base junction, and the piece in a real room for scale.
If every image is a three-quarter view from the same height at the same distance, something is being kept out of frame. The underside is the shot that goes missing most often, and it is where finishing shortcuts live.
7. Check the Scale Cues
Furniture photographed alone is impossible to size, and renders are worse. Look for a chair, a glass, a window, a floorboard — something with a known dimension. A table photographed in an empty white studio with no reference object may be 180 cm or 140 cm, and the difference matters enormously.
If the images look computer-generated — perfect light, no dust, impossibly even grain — ask for a photograph taken on a phone in the workshop. Any real maker has hundreds.
What to Ask For
Three requests that cost the seller nothing and tell you a lot:
- A photo of the actual slab for your piece, before pouring.
- A close-up of the live edge where it turns most sharply.
- A shot of the underside.
A workshop that builds to order will have all three or can take them in a minute. One that cannot is reselling. Our own process, including when you see your slab, is in How to Commission a Custom Table, and the range is in River Tables.
Quick Answers
How can I tell if a live edge is real from a photo?
Zoom in where the edge curves. On a genuine slab the grain runs out to meet the contour and turns with it. On a cut or applied edge, the grain runs straight past the curve.
What does cloudy resin in a photo mean?
Cloudiness in the depth of the channel usually means the pour overheated from being poured too thick at once. Surface haze is different and is normally cleaning residue.
Which photo is most important?
One taken at an angle that shows reflections across the whole surface. It reveals whether the top is genuinely flat, which no straight-on photograph will.
Should I worry if a listing only has renders?
Ask for real photographs of the actual piece or slab. Any workshop building to order can supply them immediately.